# Kubernetes에서 Helm Chart로 배포하기
이 방법에서는 Kubernetes 환경에서 Helm Chart를 이용하여 배포하는 과정에 대해서 다룹니다. 실제로 Production에서 사용하기 위해 배포할 때는 조금 더 섬세한 설정을 해줘야 하지만, 여기서는 최대한 간단히 배포하는 과정을 중심으로 알아봅시다.
TIP
이 글은 독자가 Kubernetes와 Helm에 대한 기본 지식이 있다고 가정합니다. Kubernetes와 Helm에 대해서 처음 들어보신 분은 아래 글들을 읽어보시기를 추천드립니다.
# 사전 준비
우리는 Kubernetes 환경에서 배포할 것이기 떄문에 Kubernetes Cluster가 필요합니다. 실제 회사에서는 AWS의 EKS나, GCP의 GKE 등 별도의 클러스터가 생성되어 있어야 하지만, 여기서는 로컬에서 간단히 실습할 수 있도록 준비해봅시다.
# Kind 설치
Docker만 설치되어 있다면 kind (opens new window)를 통해 로컬에서도 쿠버네티스 클러스터를 생성해볼 수 있습니다. 다음처럼 kind를 설치해봅시다.
# kind 설치 (Mac OS 기준)
$ brew install kind
2
TIP
Linux나 Windows 혹은 Mac에서 brew가 아닌 다른 방법으로 설치하는 방법은 공식 문서 (opens new window)를 확인해주세요.
# 클러스터 생성
다음처럼 Kubernetes Cluster를 생성합니다.
$ kind create cluster --name my-kube-cluster
다음처럼 잘 생성되었는지 확인할 수 있습니다.
$ kubectl get svc
NAME         TYPE        CLUSTER-IP   EXTERNAL-IP   PORT(S)   AGE
kubernetes   ClusterIP   10.96.0.1    <none>        443/TCP   2m1s
2
3
# 배포 구조
TBD
# Helm Chart 다운받기
$ helm repo add apache-airflow https://airflow.apache.org
$ helm repo update
2
$ helm search repo airflow
NAME                  	CHART VERSION	APP VERSION	DESCRIPTION
apache-airflow/airflow	1.4.0        	2.2.3      	The official Helm chart to deploy Apache Airflo...
2
3
$ mkdir chart
$ cd chart
$ helm pull apache-airflow/airflow --version 1.4.0 --untar
2
3
$ ls

airflow
2
3
$ cd airflow
$ ll

-rw-r--r--   1 heumsi  staff   8.6K Feb 15 23:27 CHANGELOG.txt
-rw-r--r--   1 heumsi  staff   225B Feb 15 23:27 Chart.lock
-rw-r--r--   1 heumsi  staff   7.4K Feb 15 23:27 Chart.yaml
-rw-r--r--   1 heumsi  staff   568B Feb 15 23:27 INSTALL
-rw-r--r--   1 heumsi  staff    11K Feb 15 23:27 LICENSE
-rw-r--r--   1 heumsi  staff   240B Feb 15 23:27 NOTICE
-rw-r--r--   1 heumsi  staff   2.8K Feb 15 23:27 README.md
-rw-r--r--   1 heumsi  staff   8.2K Feb 15 23:27 UPDATING.rst
drwxr-xr-x   3 heumsi  staff    96B Feb 15 23:27 charts
drwxr-xr-x   6 heumsi  staff   192B Feb 15 23:27 dockerfiles
drwxr-xr-x   3 heumsi  staff    96B Feb 15 23:27 files
drwxr-xr-x  22 heumsi  staff   704B Feb 15 23:27 templates
-rw-r--r--   1 heumsi  staff   344K Feb 15 23:27 values.schema.json
-rw-r--r--   1 heumsi  staff    44K Feb 16 20:03 values.yaml
-rw-r--r--   1 heumsi  staff   2.7K Feb 15 23:27 values_schema.schema.json
2
3
4
5
6
7
8
9
10
11
12
13
14
15
16
17
18
# values.yaml 수정하기
# DAGs
dags:
  gitSync:
#    enabled: true
    enabled: true
#    repo: https://github.com/apache/airflow.git
    repo: https://github.com/heumsi/apache-airflow-tutorials-for-beginner
#    branch: v2-2-stable
    branch: main
#    subPath: "tests/dags"
    subPath: examples/dags
2
3
4
5
6
7
8
9
10
TIP
Kubernetes에서 Airflow의 DAG Directory를 관리하는 방법은 다양합니다. 자세한 내용은 공식 문서 (opens new window)를 확인해보세요.
# Executor
#executor: "CeleryExecutor"
executor: "KubernetesExecutor"
2
# Logging
logs:
  persistence:
    # Enable persistent volume for storing logs
#    enabled: true
    enabled: false
2
3
4
5
WARNING
logs.persistence.enabled 의 값을 False로 준 이유는 대부분의 Kubernetes Cluster에서 ReadWriteMany 형태의 PVC를 기본적으로 제공해주지 않기 때문입니다.
Kubernetes에서는 로그는 언제든 유실되므로, Remote Logging을 통해 로그를 따로 수집하는게 일반적입니다.
Remote Logging을 사용하는 부분은 이 글에서 다루지 않았습니다. (따라서 이대로 배포하면 Task Instance의 로그를 볼 수 없습니다.) 이는 실제로 어떤 클라우드 벤더를 쓰느냐에 따라 조금씩 달라지는데, 이에 대한 내용은 추후에 다루겠습니다.
TIP
Kubernetes에서 Airflow의 로그를 관리하는 방법은 다양합니다. 자세한 내용은 공식 문서 (opens new window)를 확인해보세요.
TIP
실제로 Production에서의 사용을 위한 배포에서는 다음처럼 postgresql.enabled 를 false로 설정하고 클러스터 외부의 Database를 사용하기를 권장드립니다.
postgresql:
#  enabled: true
  enabled: false
2
3
외부 Database 연결은 다음처럼 airflow-database Secret에 connection 키의 값으로 sql_alchemy_conn 값을 주시면 됩니다.
$ kubectl create secret generic airflow-database --from-literal=connection=postgresql+psycopg2://airflow:1234@airflow-database:5432/airflow
# Helm Chart 배포
# Namespace 생성
$ kubectl create namespace airflow
# Chart 배포
$ helm install airflow . --namespace airflow
다음처럼 잘 배포되었는지 확인할 수 있습니다.
$ helm ls --namespace airflow

NAME    NAMESPACE       REVISION        UPDATED                                 STATUS          CHART           APP VERSION
airflow   airflow       1               2022-02-20 23:19:54.859207 +0900 KST    deployed        airflow-1.4.0   2.2.3
2
3
4
$ kubectl get all --namespace airflow

NAME                                     READY   STATUS    RESTARTS   AGE
pod/airflow-postgresql-0                 1/1     Running   0          2m7s
pod/airflow-scheduler-6bc8cd6457-l85nr   3/3     Running   0          2m7s
pod/airflow-statsd-7586f9998-q626g       1/1     Running   0          2m7s
pod/airflow-triggerer-bfcbc47bf-ctdgg    2/2     Running   0          2m7s
pod/airflow-webserver-7565fcf69d-vsx4q   1/1     Running   0          2m7s

NAME                                  TYPE        CLUSTER-IP      EXTERNAL-IP   PORT(S)             AGE
service/airflow-postgresql            ClusterIP   10.96.181.84    <none>        5432/TCP            2m7s
service/airflow-postgresql-headless   ClusterIP   None            <none>        5432/TCP            2m7s
service/airflow-statsd                ClusterIP   10.96.29.57     <none>        9125/UDP,9102/TCP   2m7s
service/airflow-webserver             ClusterIP   10.96.106.140   <none>        8080/TCP            2m7s

NAME                                READY   UP-TO-DATE   AVAILABLE   AGE
deployment.apps/airflow-scheduler   1/1     1            1           2m7s
deployment.apps/airflow-statsd      1/1     1            1           2m7s
deployment.apps/airflow-triggerer   1/1     1            1           2m7s
deployment.apps/airflow-webserver   1/1     1            1           2m7s

NAME                                           DESIRED   CURRENT   READY   AGE
replicaset.apps/airflow-scheduler-6bc8cd6457   1         1         1       2m7s
replicaset.apps/airflow-statsd-7586f9998       1         1         1       2m7s
replicaset.apps/airflow-triggerer-bfcbc47bf    1         1         1       2m7s
replicaset.apps/airflow-webserver-7565fcf69d   1         1         1       2m7s

NAME                                  READY   AGE
statefulset.apps/airflow-postgresql   1/1     2m7s
2
3
4
5
6
7
8
9
10
11
12
13
14
15
16
17
18
19
20
21
22
23
24
25
26
27
28
29
# Webserver 접속
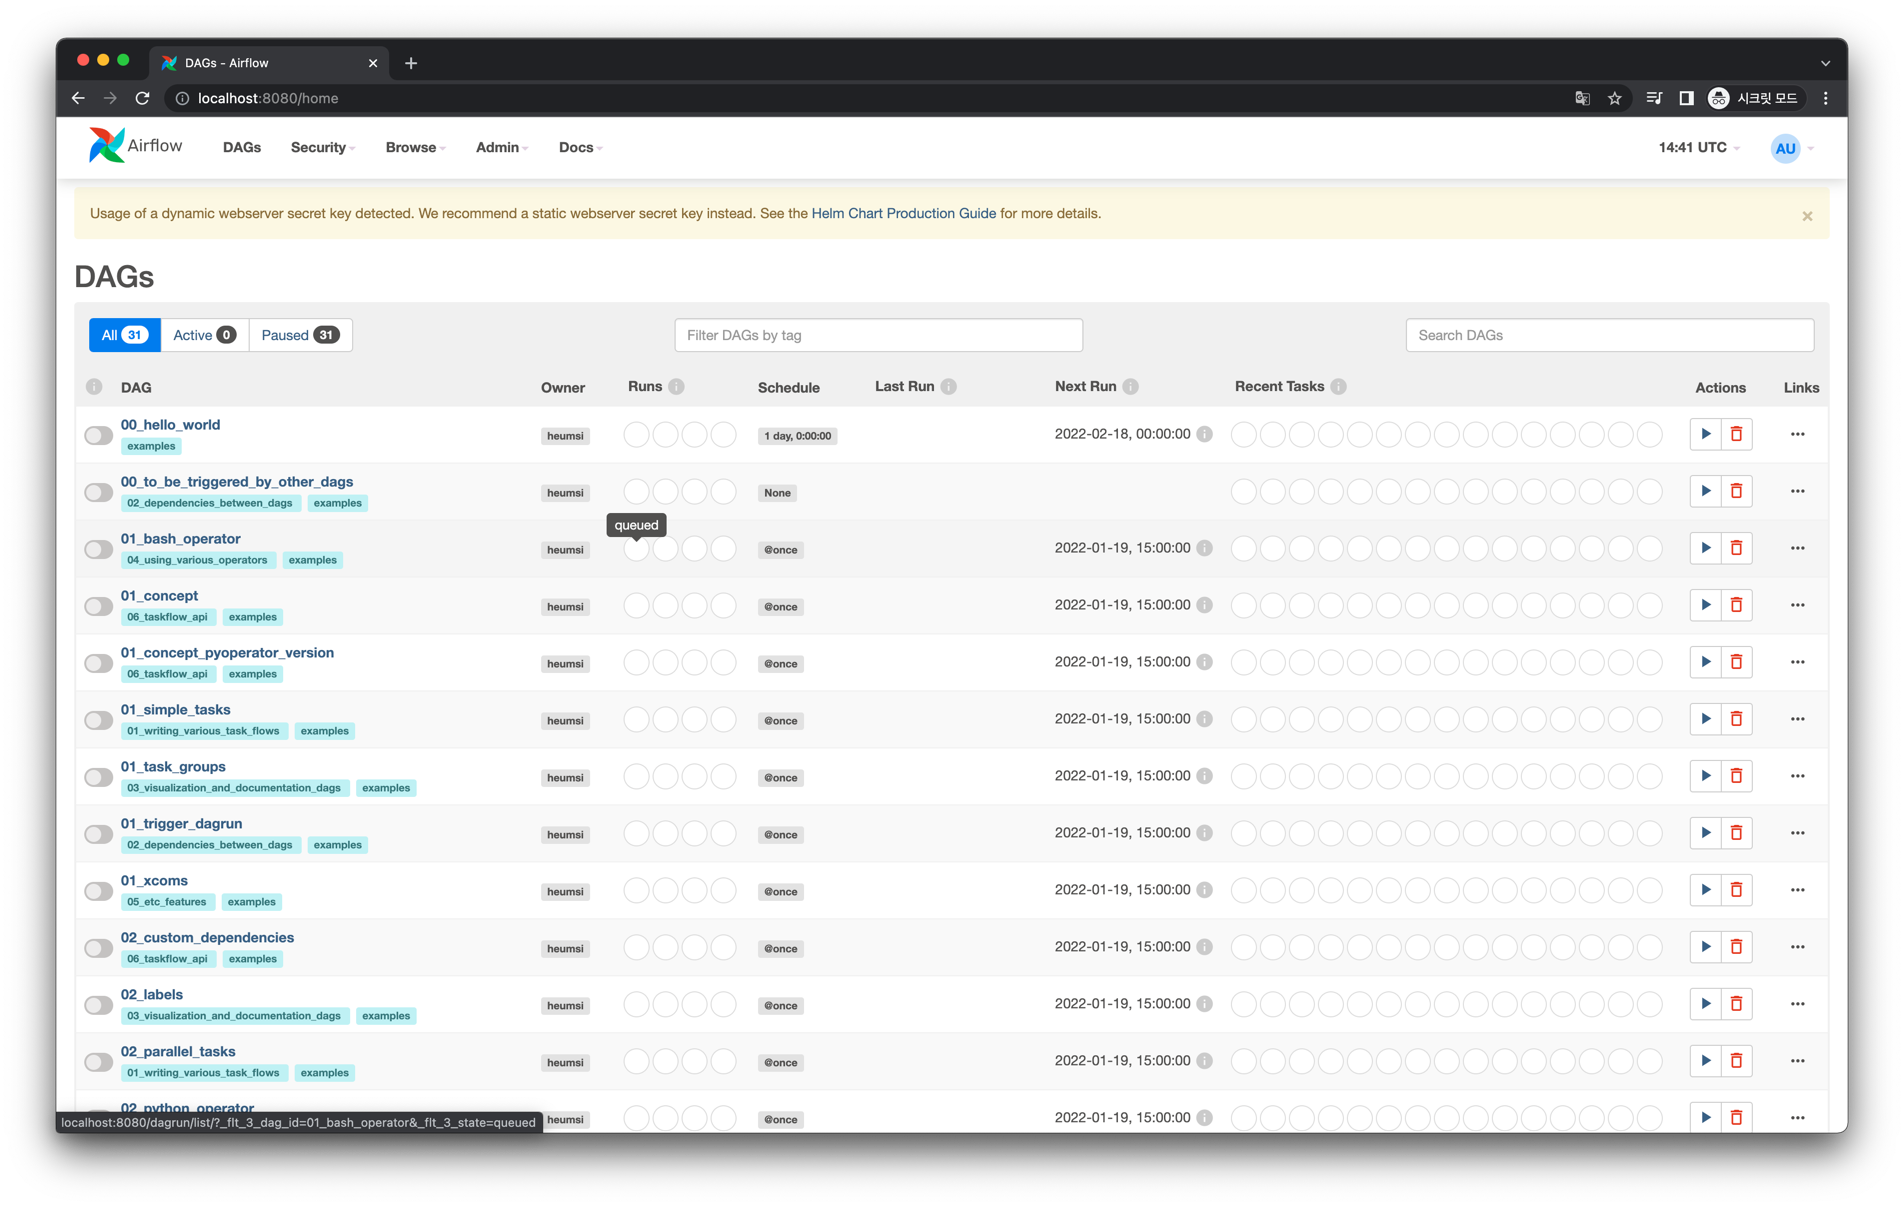
다음처럼 Webserver Service에 포트 포워딩하여 접근할 수 있습니다.
$ kubectl port-forward svc/airflow-webserver 8080 -n airflow

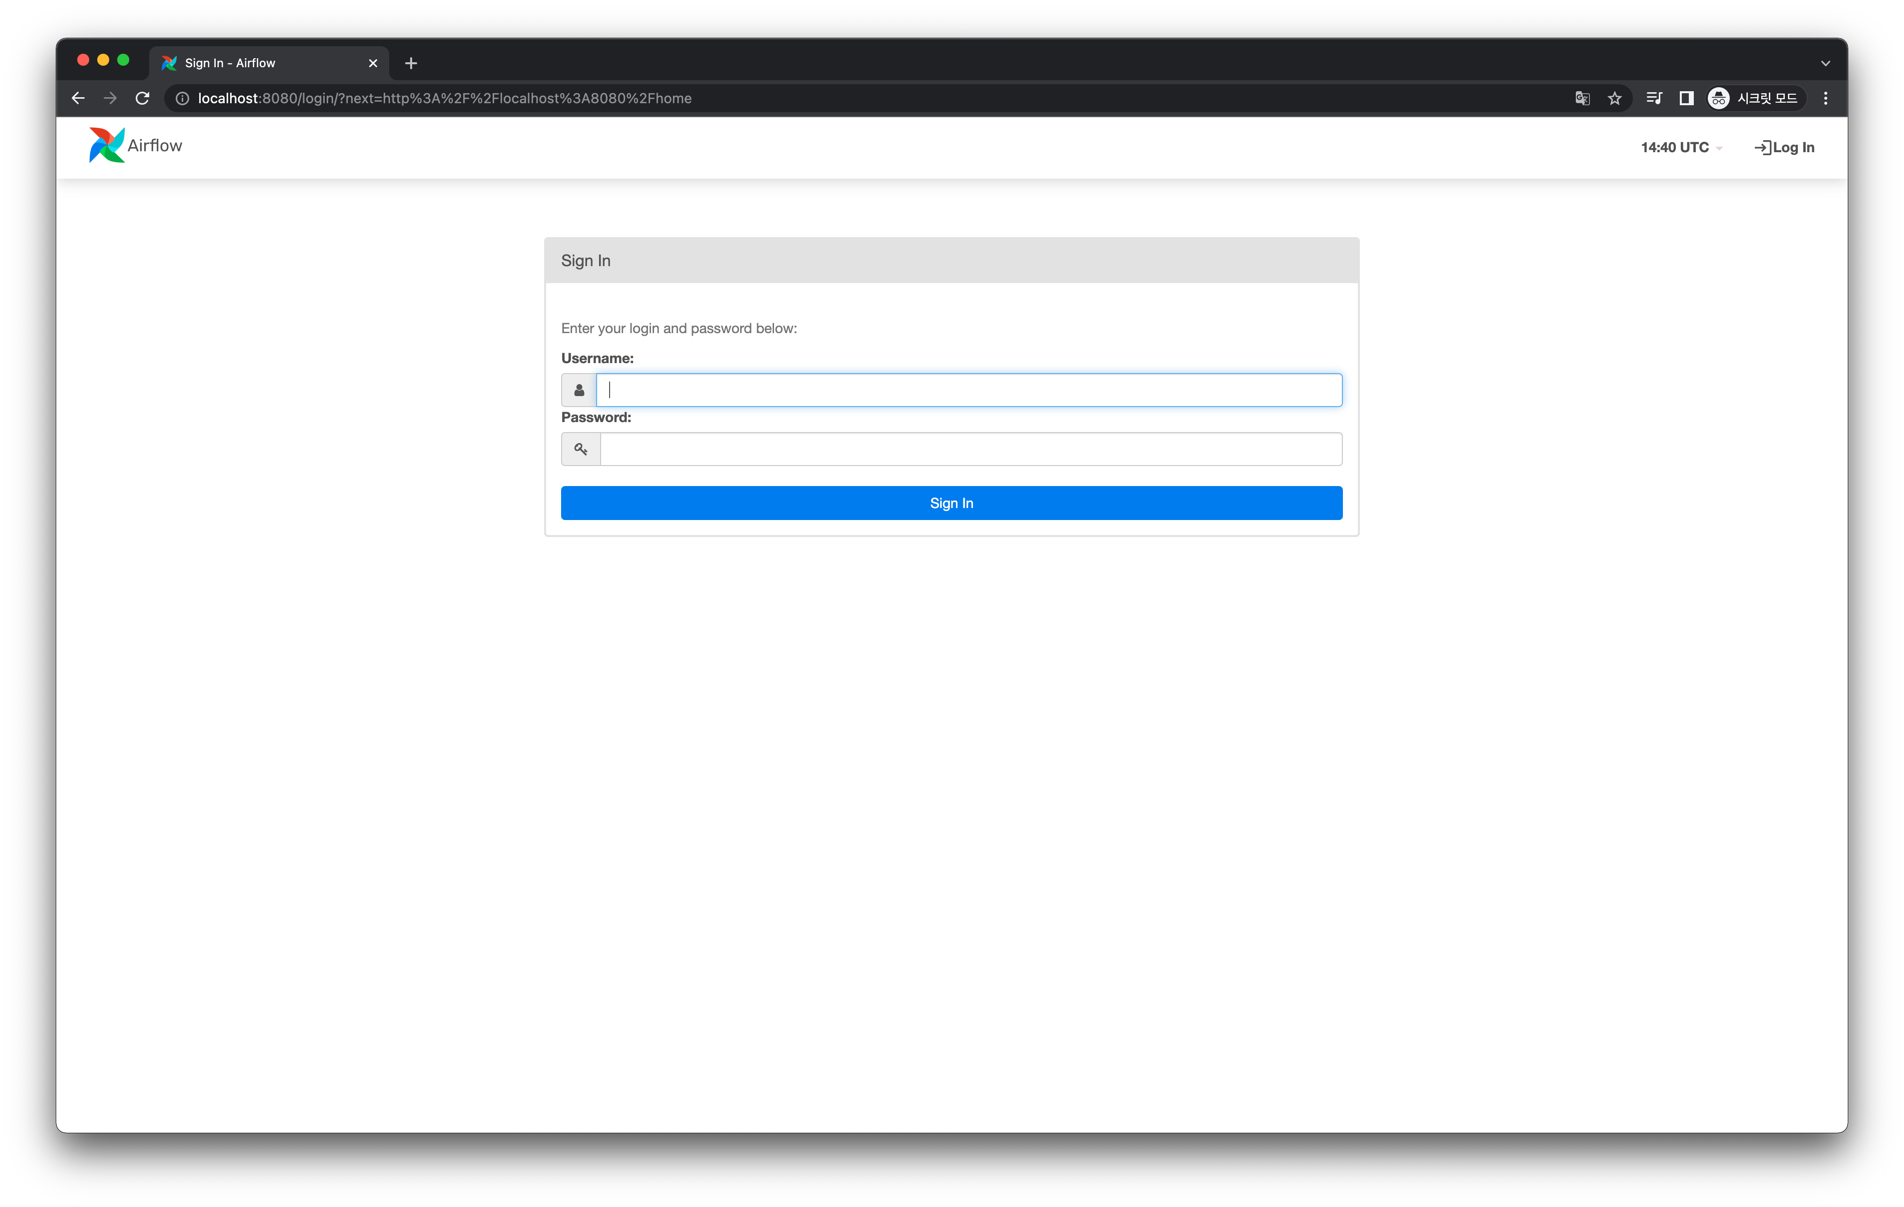
초기 유저 이름은 admin, 비밀번호는 admin 입니다. (이 정보는 helm install 후 나오는 안내 문서에서 등장합니다.)

