
# EmailOperator
EmailOperator 는 Email을 보내는 Operator입니다.
# 사전 준비
EmailOperator를 쓰기 위해서 먼저 Airflow의 SMTP 관련 설정을 해줘야합니다.
여기서는 간단하게 Airflow에서 사용할 메일 서버로 gmail을 사용해보겠습니다.
# Google 내 계정 페이지에서 보안 수준 낮은 앱 액세스 설정
브라우저에서 Google 내 계정 페이지 (opens new window)에 접속하여 왼쪽에서 "보안" 탭 누릅니다. 보이는 항목 중 "보안 수준이 낮은 앱의 액세스" 부분이 아래처럼 "사용 안함"으로 되어있을겁니다.
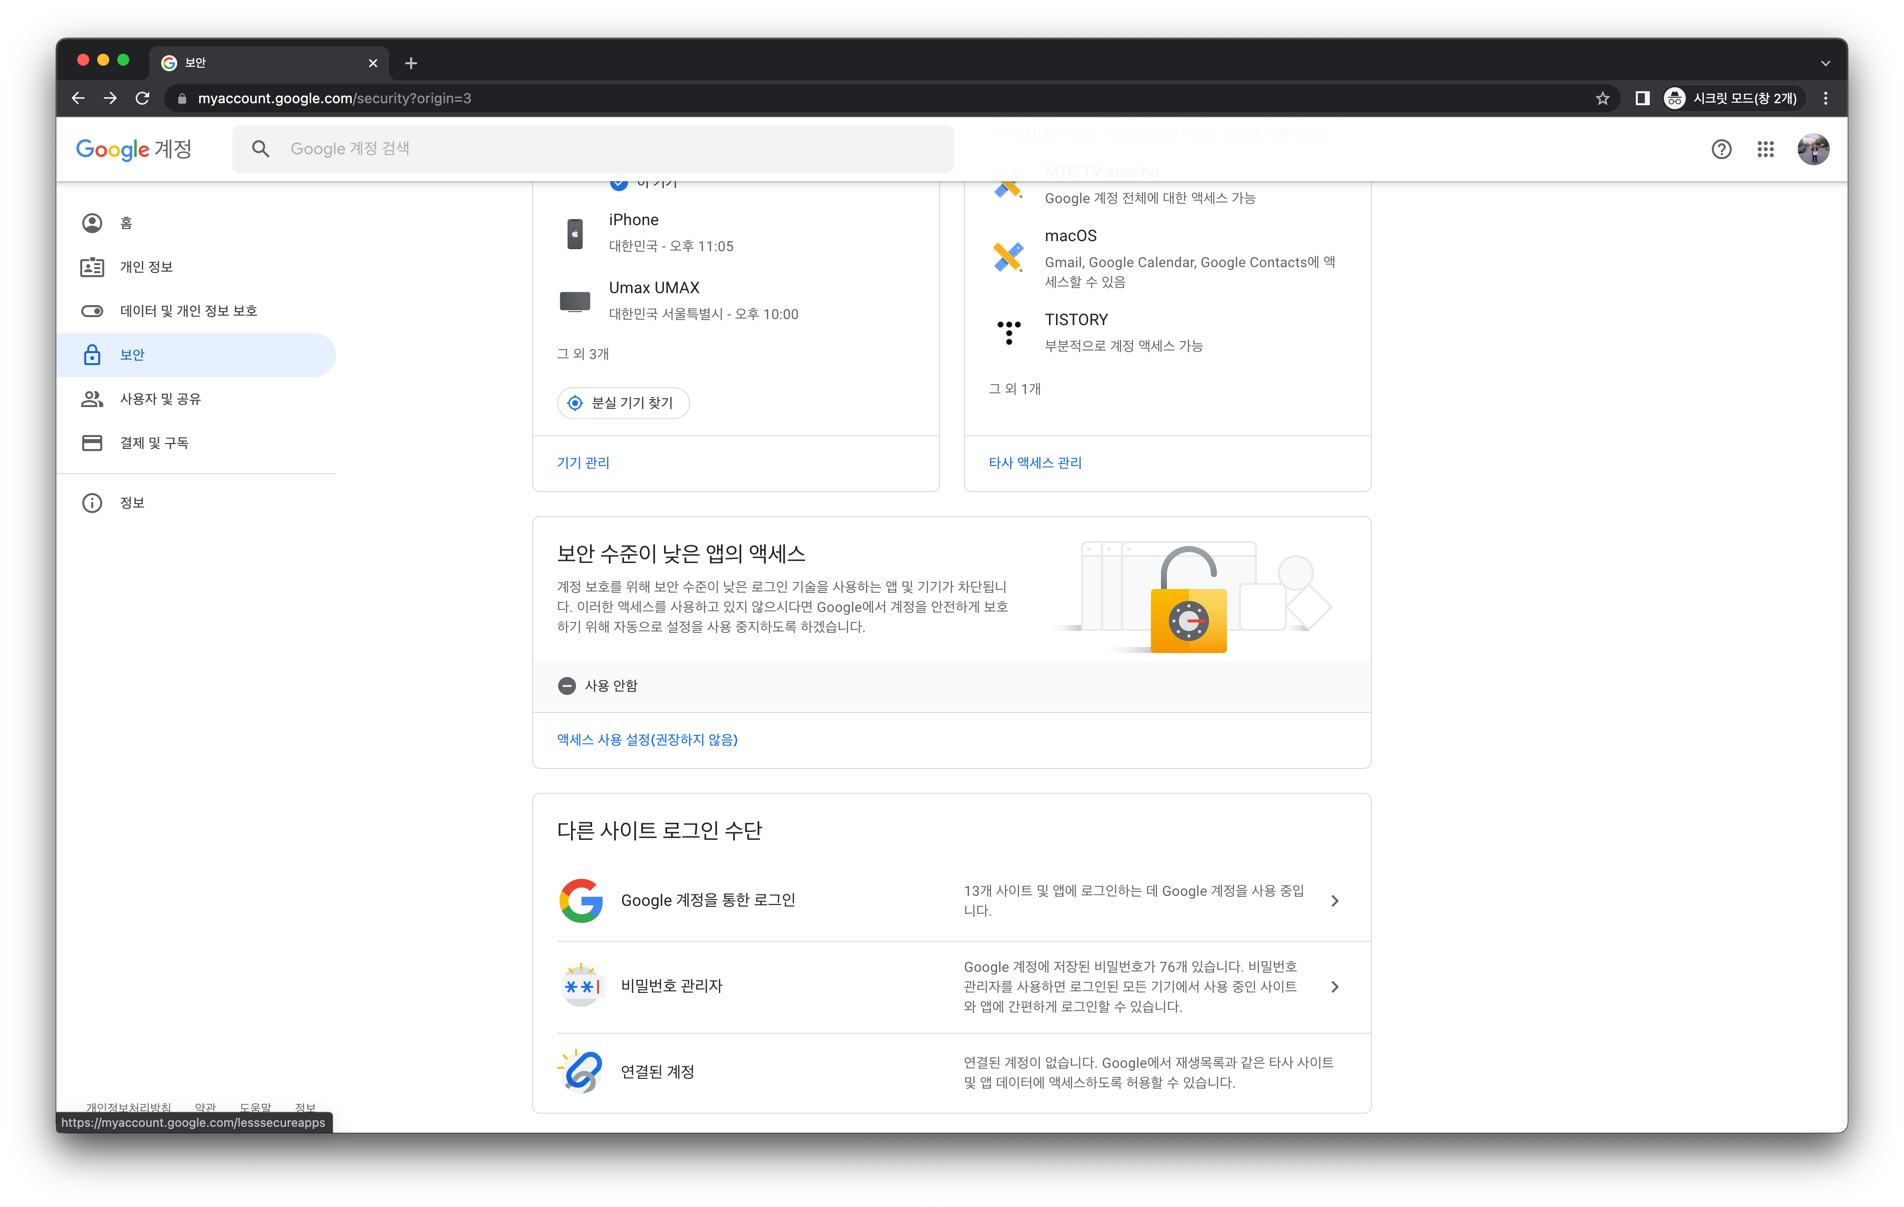
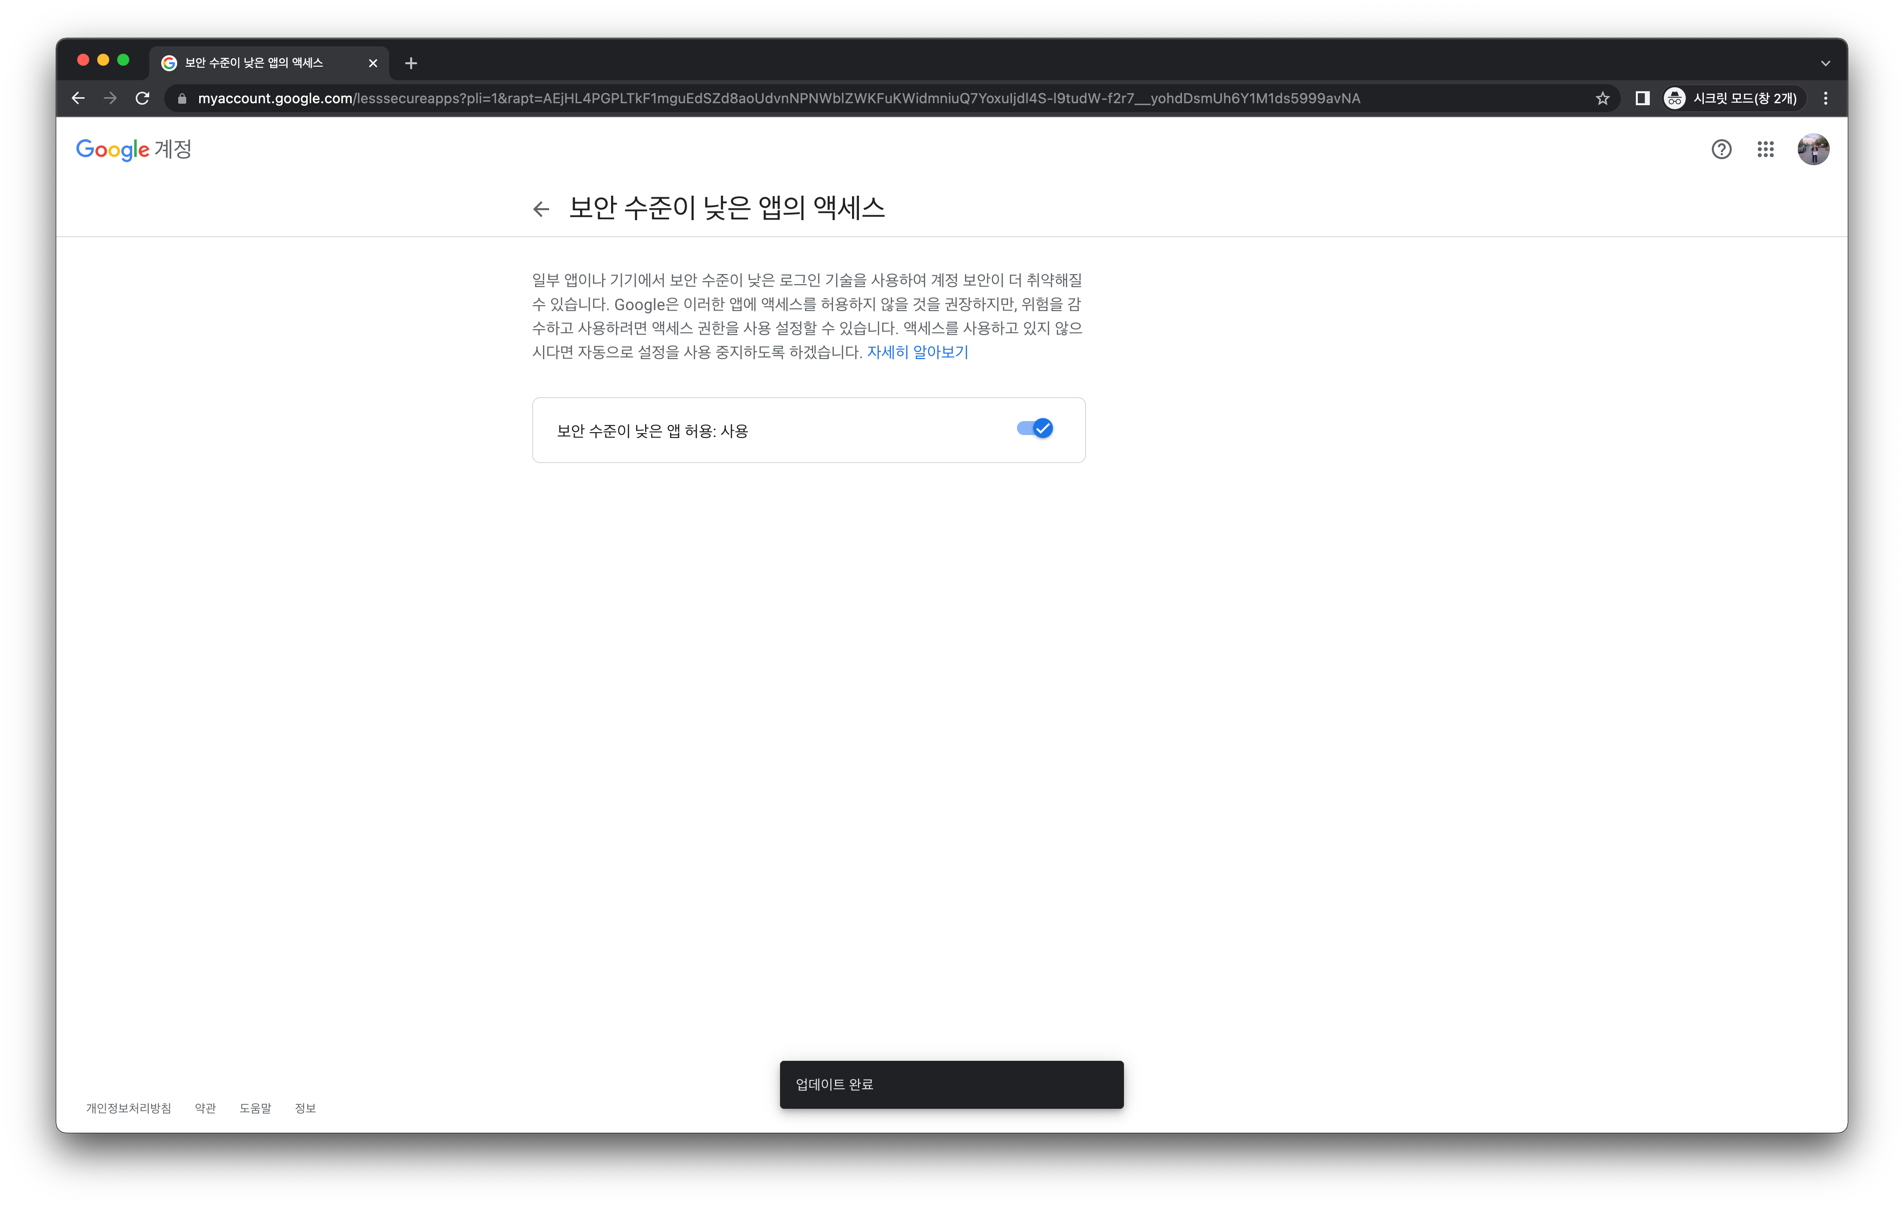
이를 클릭하여 다음처럼 "사용"으로 바꿔주세요.
# airflow.cfg 에서 SMTP 설정
$AIRLFOW_HOME 에서 airflow.cfg 파일을 찾습니다.
파일 내부에서 [smtp] 를 검색해보면 (별도의 설정을 하지 않았다면) 다음과 같이 되어있습니다.
[smtp]

smtp_host = localhost
smtp_starttls = True
smtp_ssl = False
# smtp_user =
# smtp_password =
smtp_port = 25
smtp_mail_from = airflow@example.com
smtp_timeout = 30
smtp_retry_limit = 5
1
2
3
4
5
6
7
8
9
10
11
2
3
4
5
6
7
8
9
10
11
이제 이 항목을 다음처럼 변경합니다. (변경한 부분만 하이라이팅 했습니다.)
[smtp]

smtp_host = smtp.gmail.com
smtp_starttls = True
smtp_ssl = False
smtp_user = "gmail 서버 유저"
# smtp_user = heumsi
smtp_password = "본인의 비밀번호"
# smtp_password = 1234
smtp_port = 587
smtp_mail_from = "gmail 서버 유저 이메일"
# smtp_mail_from = heumsi@gmail.com
smtp_timeout = 30
smtp_retry_limit = 5
1
2
3
4
5
6
7
8
9
10
11
12
13
14
2
3
4
5
6
7
8
9
10
11
12
13
14
이 때 smtp_user와 smtp_password 에는 Google 계정 정보에 대해 써주시면 됩니다.
그리고 smtp_mail_from 는 예시(주석)처럼 Google 계정 이메일을 써주시면 됩니다.
# Scheduler 재기동
airflow.cfg 파일을 이처럼 변경한 후 적용을 위해 Scheduler를 종료한 뒤 $AIRFLOW_HOME에서 Scheduler를 재기동합니다.
$ airflow scheduler
1
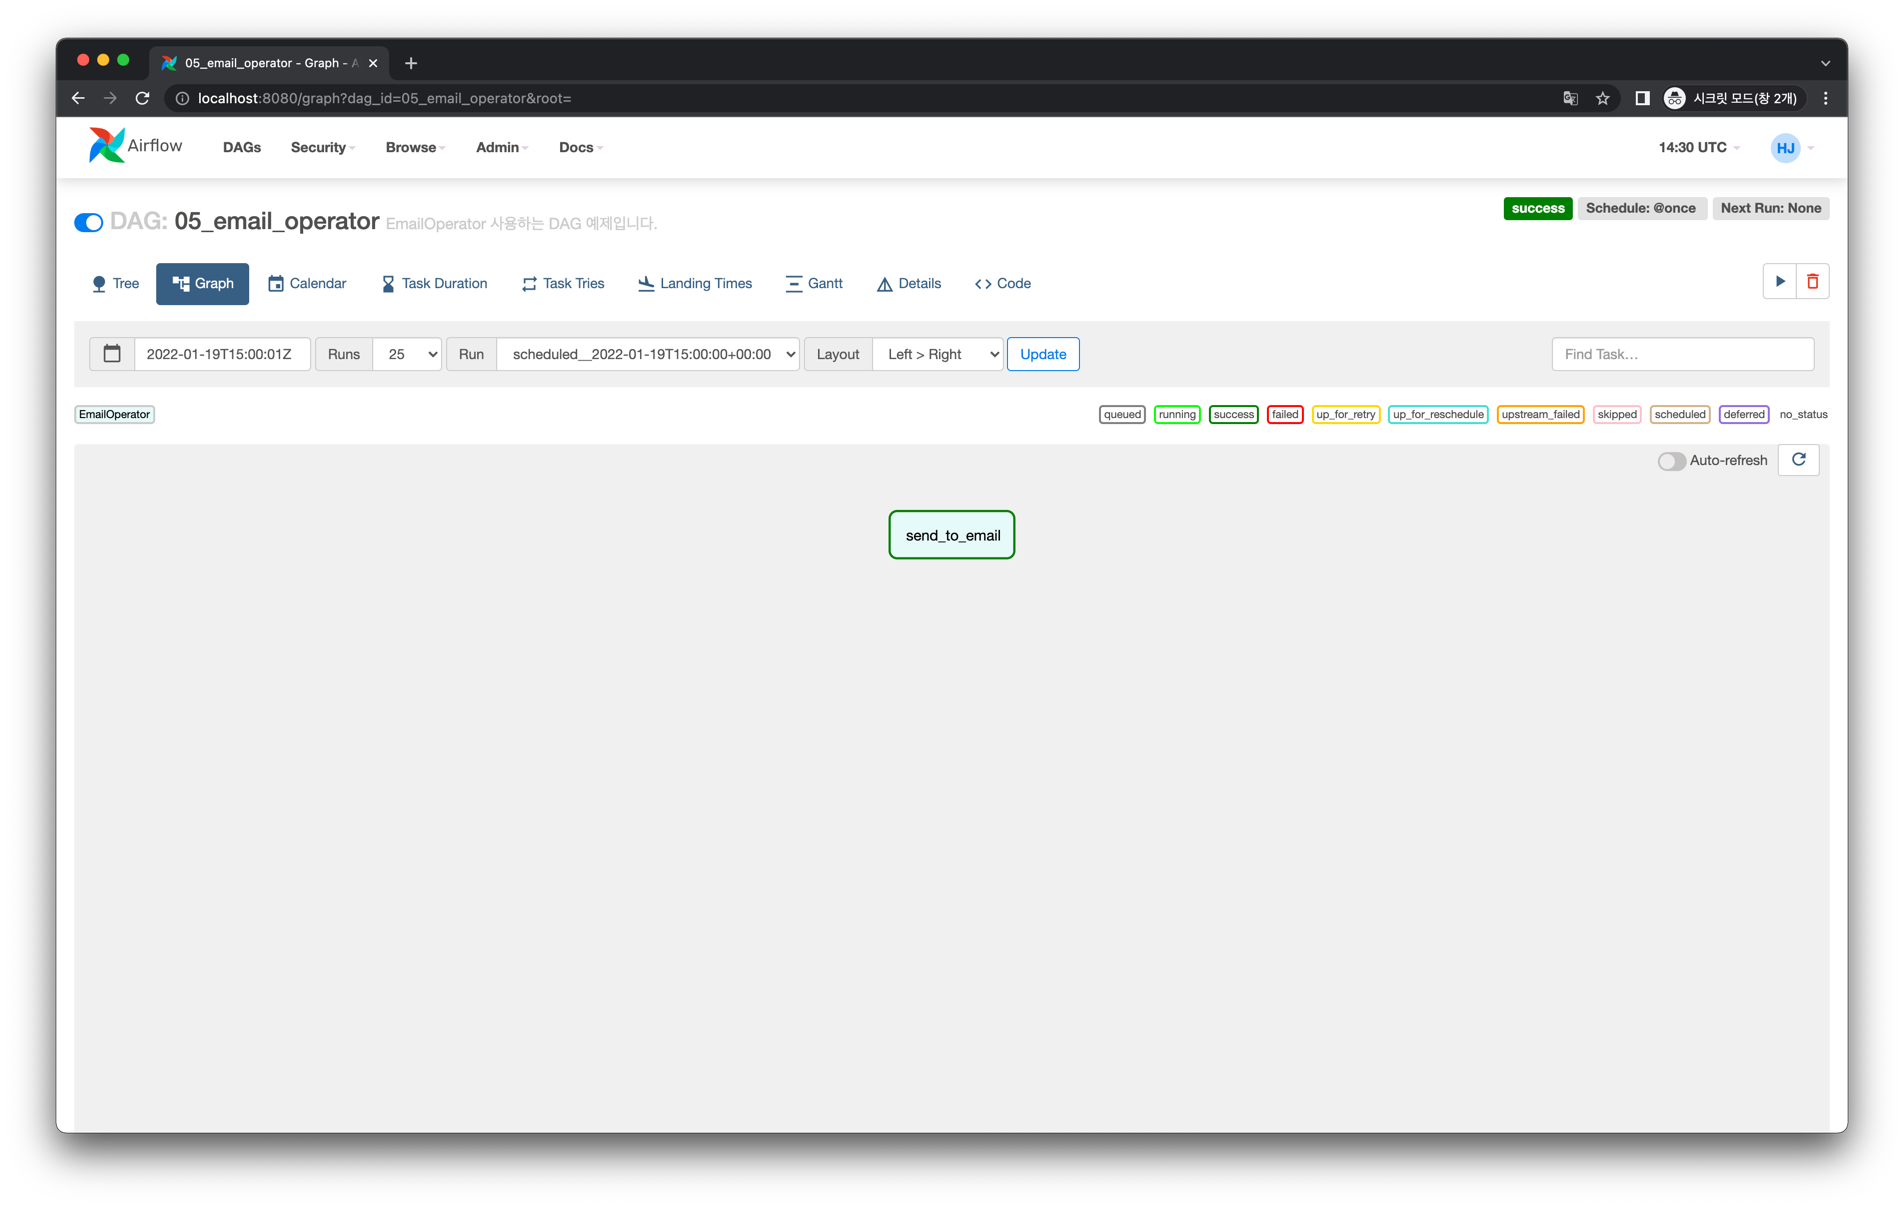
# Graph View
작성할 DAG의 Task 의존성은 다음처럼 간단합니다.

# Code
from datetime import datetime, timedelta

from airflow import DAG
from airflow.operators.email import EmailOperator
from pendulum.tz.timezone import Timezone

with DAG(
    dag_id="05_email_operator",
    description="EmailOperator 사용하는 DAG 예제입니다.",
    default_args={
        "owner": "heumsi",
        "retries": 1,
        "retry_delay": timedelta(minutes=1),
    },
    start_date=datetime(2022, 1, 20, tzinfo=Timezone("Asia/Seoul")),
    schedule_interval="@once",
    tags=["examples", "04_using_various_operators"],
) as dag:

    task = EmailOperator(
        task_id="send_to_email",
        to="heumsi@naver.com",
        subject="Airflow에서 보낸 Email입니다.",
        html_content="""
            <h1>Airflow에서 보낸 Email입니다.</h1>
            <p>Airflow에서 보낸 Email 입니다!</p>
        """,
    )
1
2
3
4
5
6
7
8
9
10
11
12
13
14
15
16
17
18
19
20
21
22
23
24
25
26
27
28
2
3
4
5
6
7
8
9
10
11
12
13
14
15
16
17
18
19
20
21
22
23
24
25
26
27
28
EmailOperator로 Email을 보내는 Task Instance를 정의합니다.to파라미터로 어느 이메일 주소로 보낼지 지정할 수 있습니다.List[str]형태로 복수 개의 이메일 주소를 설정할 수도 있습니다.subject파라미터로 이메일 제목을 지정할 수 있습니다.html_content파라미터로 이메일 내용을 입력합니다.
# Web UI
실행 결과를 확인해보면 다음과 같습니다.
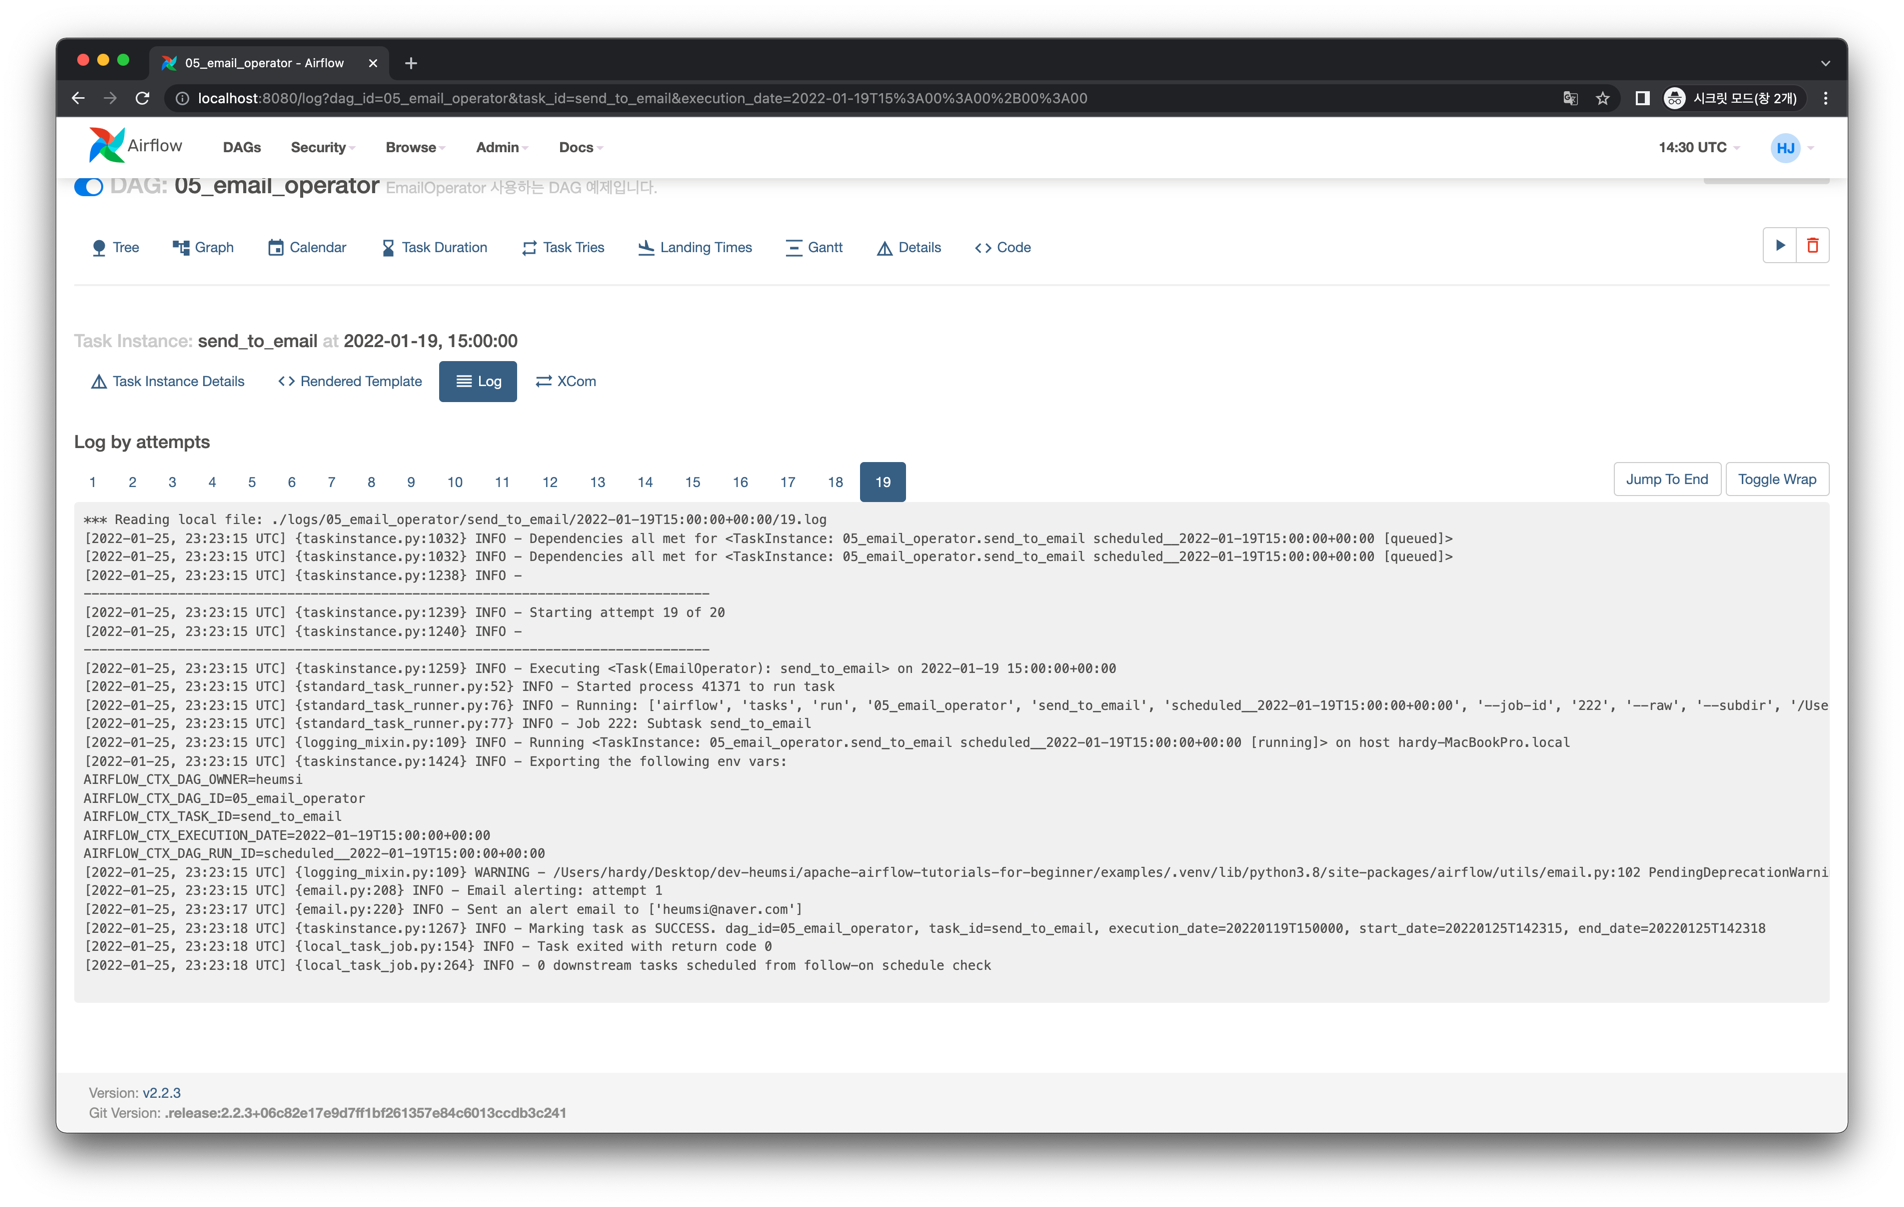
다음처럼 제 이메일 주소로 Airflow에서 보낸 메일이 잘 도착했습니다.
